So, you're looking at putting up a chain link fence yourself, huh? I get it. It seems straightforward enough: dig some holes, set some posts, stretch some wire. And for some folks, that's exactly what it is. But before you rent that post-hole digger, let's talk about what you're really getting into, especially here in Rapid City.
Before You Start: The Groundwork
First things first, you can't just start digging. You've got to know what's under the ground. Call 811 a few days before you plan to break dirt. It's free, it's the law, and it saves you a massive headache (and potentially a utility bill) if you hit a gas line or a water main. Trust me, I've seen it happen. You don't want to be that guy.
Next, check with the City of Rapid City planning department. You'll need to know about setbacks, height restrictions, and any permits required. Most residential fences under a certain height don't need a permit, but it's always better to be sure. You don't want to get your fence up only to find out you have to tear it down.
Think about your property lines too. Don't guess. If there's any doubt, get a survey done. A few hundred bucks now can save you a neighborly dispute later. You want your fence on your property, not partially on your neighbor's.
What You'll Need (Tools & Materials)
You're going to need more than just fence fabric and posts. Here's a quick rundown:
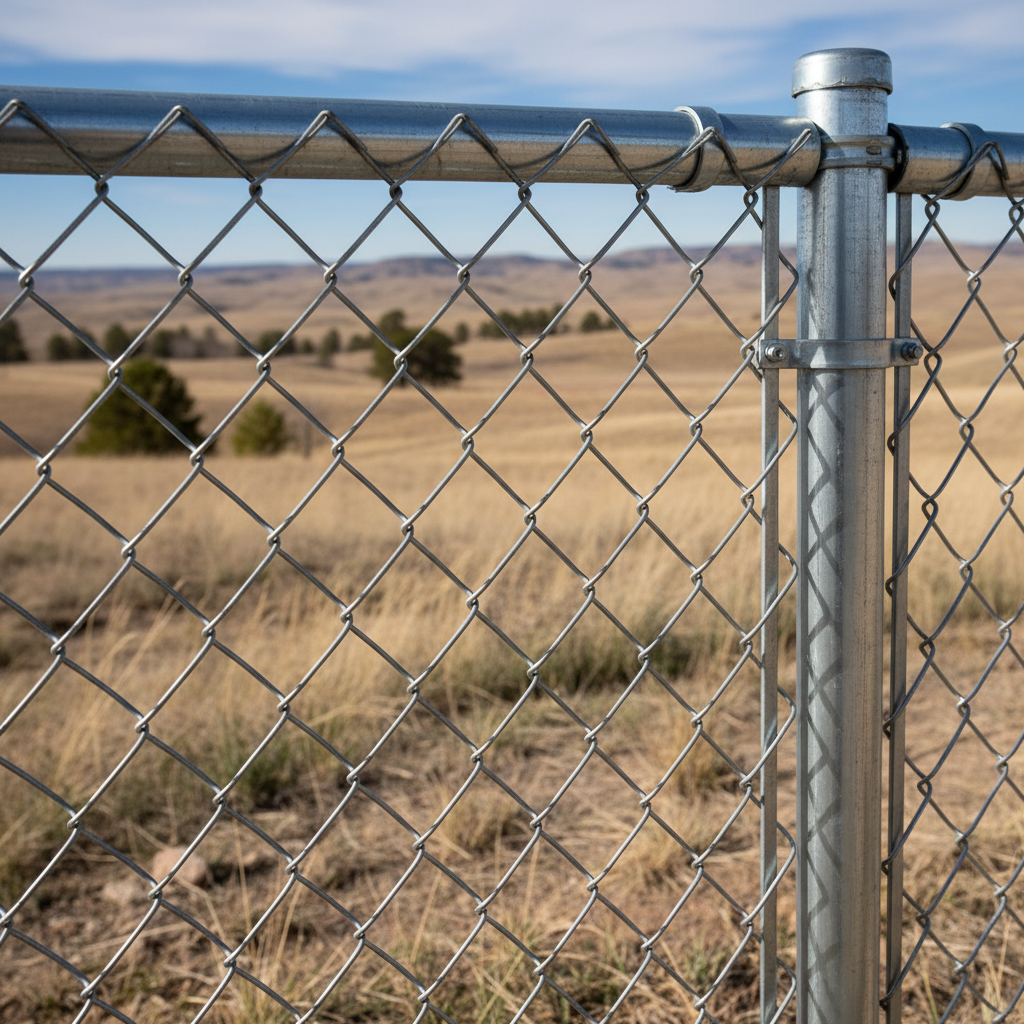
- Posts: Terminal posts (for ends, corners, and gates) are heavier gauge than line posts. Get the right length – you'll bury about a third of it.
- Concrete: For setting those posts. Don't skimp here, especially with our freeze-thaw cycles in the Black Hills.
- Top Rail: This runs along the top of the fence, connecting the posts and giving it rigidity.
- Fittings: Tension bands, brace bands, rail end cups, post caps, tension bars, tie wires. There are a lot of little pieces, and you'll need them all.
- Chain Link Fabric: Comes in rolls. Make sure you get the right height and gauge.
- Tools: Post-hole digger (manual or powered), level, string line, tape measure, hacksaw or reciprocating saw (for cutting top rail), pliers, vice grips, fence stretcher (this is key!), wheelbarrow, shovel, safety glasses, gloves.
That fence stretcher? That's not optional. You won't get a tight, professional-looking fence without one. And a manual post-hole digger is a workout, especially if you hit some of that Rapid City gumbo clay or rocks. A powered auger is a lifesaver for larger projects.
The Installation Process: A Quick Overview
1. Lay out your fence line: Use string and stakes to mark exactly where your fence will go. This is your guide.
2. Dig post holes: Deeper than you think, and wider than the post. You want a good concrete collar around that post. For terminal posts, we're usually talking 30-36 inches deep here, to get below the frost line.
3. Set terminal posts: Get them perfectly plumb (straight up and down) using a level. Pour concrete, crown it slightly to shed water, and let it cure for at least 24-48 hours before you put any tension on it.
4. Install line posts: These go in between your terminal posts. They don't need to be quite as deep as terminals, but still set them in concrete and get them plumb.
5. Attach fittings: Put all your bands, caps, and rail end cups on the posts.
6. Install top rail: Run the top rail through the rail end cups and secure it. This is what gives your fence its top line.
7. Hang the fabric: This is where the fence stretcher comes in. You'll attach the fabric to one terminal post, roll it out, and then use the stretcher to pull it tight to the next terminal post. This takes some muscle and technique to get it right and wrinkle-free.
8. Tie it off: Use tie wires to secure the fabric to the top rail and line posts.
9. Install gates: If you're putting in a gate, that's a whole other mini-project, making sure it swings freely and latches securely.
DIY vs. Calling a Pro: Where to Draw the Line
Look, I'm a contractor, and I believe in empowering homeowners. If you're handy, patient, have the right tools, and you're only doing a short run of fence, say, to enclose a small dog run or a garden, then DIY chain link is definitely doable. It'll save you some money on labor, and you'll get the satisfaction of doing it yourself.
However, if you're talking about a long perimeter fence, a fence on uneven or sloped terrain, or if you need multiple gates, that's when you really need to consider calling in the pros. Here's why:
- Time: It takes a lot longer than you think, especially if you're new to it.
- Tools: Renting specialized tools adds up. We've got all the right gear, including power augers and heavy-duty stretchers, which makes the job faster and cleaner.
- Expertise: Getting posts perfectly aligned, stretching fabric evenly, and dealing with tricky corners or slopes takes experience. A poorly installed fence won't look good and won't last as long.
- Warranty: When Rapid City Fencing Company installs your fence, it comes with a warranty. If something goes wrong, we fix it. If you DIY, you're the warranty department.
- Our soil: We've got some tough soil around here. Digging dozens of post holes in rocky or hard-packed ground isn't a weekend warrior's dream.
For a basic, straight run, you might be fine. But if you're feeling overwhelmed by the sheer number of steps, the specialized tools, or the physical labor, don't hesitate to get a quote from us. We do this work every day, and we can get it done right, efficiently, and with a professional finish that'll stand up to our Rapid City weather for years to come.
Ultimately, it's your call. Just make sure you go into it with your eyes wide open about what the job truly entails.